


Spoiler: If you have seen Harry Potter and the Order of the Phoenix, (and the movies after that one) you probably remember the prophecy. Harry and his friends goes to the Ministry of Magic, to “save” Sirius and there they encounter the prophecy room, which includes Harrys own prophecy.
Inspired by that very prophecy I wanted to try to make one. Found a reference photo on the internet (see below). In the movie we mostly see the orb itself, and not the base that much. But the base is the fun part to make, so here we go.

I ignored the whole black block, which is not really a part of it. Just something it stands on when they sell it at The Noble Collection or wherever they sell it. Started out with Fimo Clay to create the dragons. Are they dragons? Someone here with more knowlegde of mythical creatures?


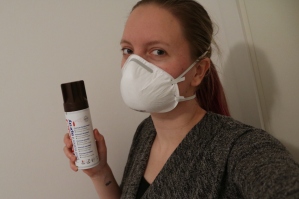
Gave them a light roast in the oven, as per the instructions on the package. While the dragons were chillin’ in the heat I sprayed the ‘orb’ with Satin Lacquer.

For the orb I used one of these “DIY christmas ornament baubles”. Can you tell I have no clue what to call it whatsoever? When the varnish/lacquer was completly dry, I cut of the little protruding bits. Should probably have done that before I sprayed them, but hey, it worked fine. Stuffed the bauble with iridescent foil to make it look a little more like in the movie. As you can see in the reference pic, there is nothing in the orb there, but in the movie it has this kind of swirling blue-white smoke… Yeah. My description might leave something to be desired. See the movie or google it, and you’ll know what I mean.
Anyway, my dragons were done with their roasting and cooling and I proceeded to paint. I used spray paint in the exciting color gold. Had to do it in several turns to make sure every angle was covered.

When dry, I painted it a little more. This time I went over with black to enhance the details. You paint with black and then you wipe it off with a cloth or something. Some of the black will remain in the creases.

In the picture above you can see the difference before (right) and after (left) I have applied some black paint. It’s not that much of a difference, but it gives an aged feel to it. Leave it to dry for one last time. Then I put my orb and dragons together, and it is complete. One could glue the orb to the base, but I wanted to be able to take them apart, so it’s just resting on top.

If you compare it to the reference photo, you’ll see that they aren’t that similar, but it was fun to make and I am happy with it.
A while ago I saw this tutorial from TheCraftMaiden;
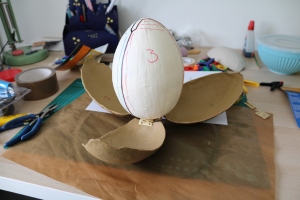
Last week it was time to try it myself. It was real fun, and such a sense of accomplishment when you have the finished egg. My egg turned out a little different than hers, because of access to materials and level of skills. To me it was the first time ever using worbla and soldering iron, so my lines weren’t as neat and clean as hers, but still!
Included some pictures of my project as well as my finished egg. If you have questions to anything you see of mine, feel free to ask.
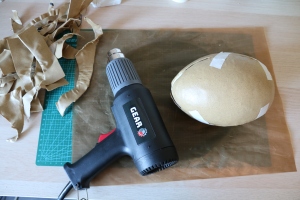


I can add that I did not include lights. I had some fairy lights at first, but decided to leave it out because it was troublesome to turn them on and off, and the egg got a little heavy on one side because of the batteries and the egg fell over every now and then.
Hi!
Another DIY-video! Totally stole the idea from Pinterest, and other crafters, but wanted to give it a go and figured I just as well could show you guys how I made it. You can make smaller ones as well, and turn them into a pendant necklace, charm bracelet or even earrings.
I would love to hear your experiences in completing this DIY, so feel free to leave a comment below!
Hi!
Just made this video, where I show you how I made my very own Hogwarts Trunk. It can be made from all kind of sizes. I thought this suitcase was the perfect size for me to keep the movies, and some other items in. What you guys think?
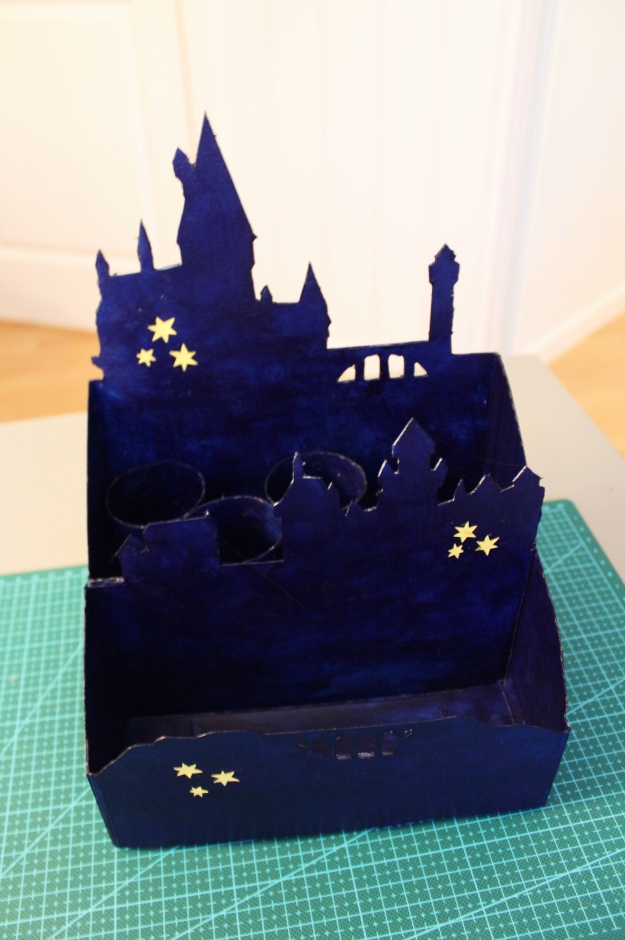
A few months back I saw this blogpost over at Juliette, and she had made this wonderful advent calendar. I simply had to make one for myself. She had templates and step by step explanations. I got everything I needed. Since her template was in french, I decided to do some alteration, namely changing the words from french to norwegian (since I don’t really speak french). I also had to try and fail a couple of times to get the templates to the right size for my box. I guess if you do not alter them they would fit perfectly.
Anyway, here are some pictures of my project. As you can see it is not as neat as Juliette, and I did blue glitter instead of gold. But I love it!

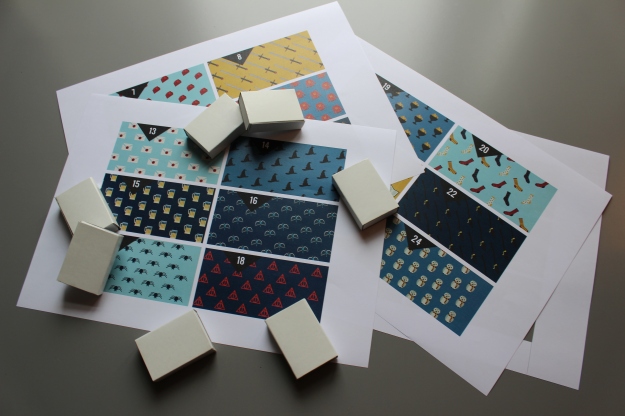
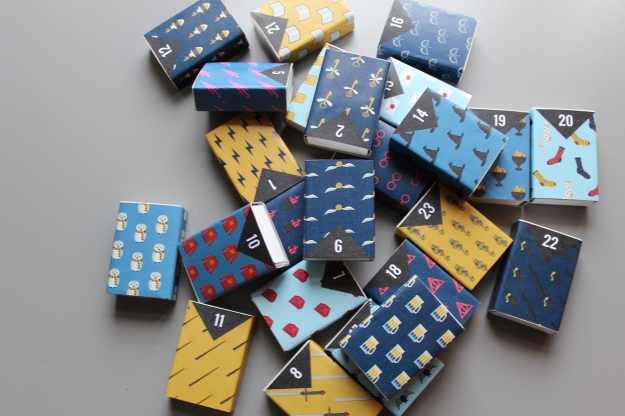


On the front it says: “Advent Calendar”, and then “Harry Potter” as you probably can see.

On the back I wrote: “24 magical days”.

Again, you can find the post with templates and everything right HERE. It is in french, but you could allow google translate to translate the page for you. It will not be perfect, but you get the gist.
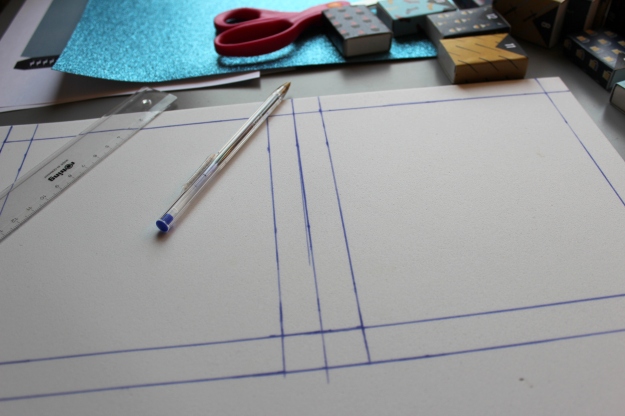
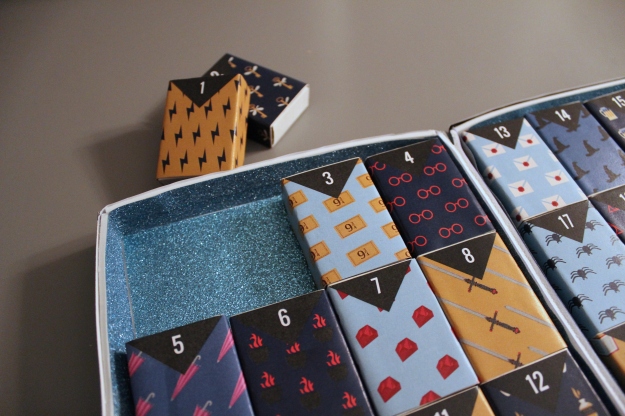
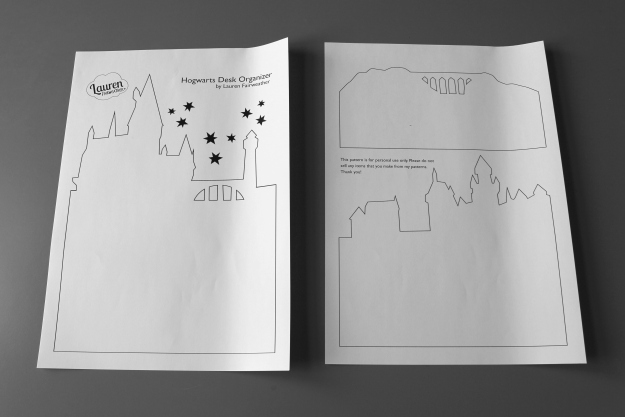
I saw Lauren Fairweather make this amazing desk organizer on YouTube, and simply had to try it myself. Mine did not turn out as neat or anything, but I love it anyway. You find instructions in her video, and she also have a link to a template for this. Here are some of my pictures from the process and my result. What you think of the idea?


In hindsight I thought maybe it would be better to paint the different sections in slighty different colours, so one would more easily see the layers of the sections. I might do so in the future, but as for now I am sick and tired of painting this thing. So many layers of paint to cover the print on the cereal boxes…
As I mentioned in my last post, my project these last days have been to make a mandrake.
I have been thinking about making this for a long time now, and at my last trip to IKEA I picked up one of these fake plants, and figured I would give it a shot. It was not the perfect plant to get the “correct” look of a mandrake, but nonetheless I liked it.
What you need to make this:
– a plant of some sort (preferably a fake one, so it won’t wither and die)
– something to shape the body of the mandrake – I used newspaper and aluminium foil
– hot glue and a glue gun
– plaster gauze
– paint and paintbrush

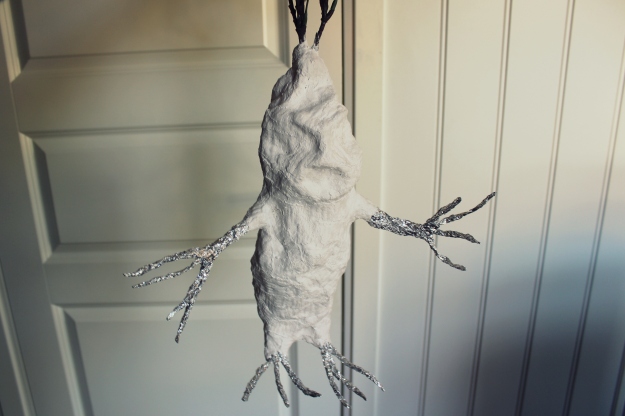
First you need to shape the body. I picked a “plant” with a long stem to build the body around. I made volume with balled up newspaper, and then I used aluminium foil on top of that to create the shape. I also used aluminum foil to make arms and legs. Arms and legs was my biggest worry, but in the end I just stop caring that they would not look like a bundle of roots and nothing like the movie at all.

The next step was to make it more solid by covering the body in plaster gauze. I did not cover all of the arms and legs, because I wanted to be able to move them.

Then you just need to paint it. I painted it all in a “beige” colour, and then layered with brown and a hint of green to make it look a little more like it lives in soil and dirt.

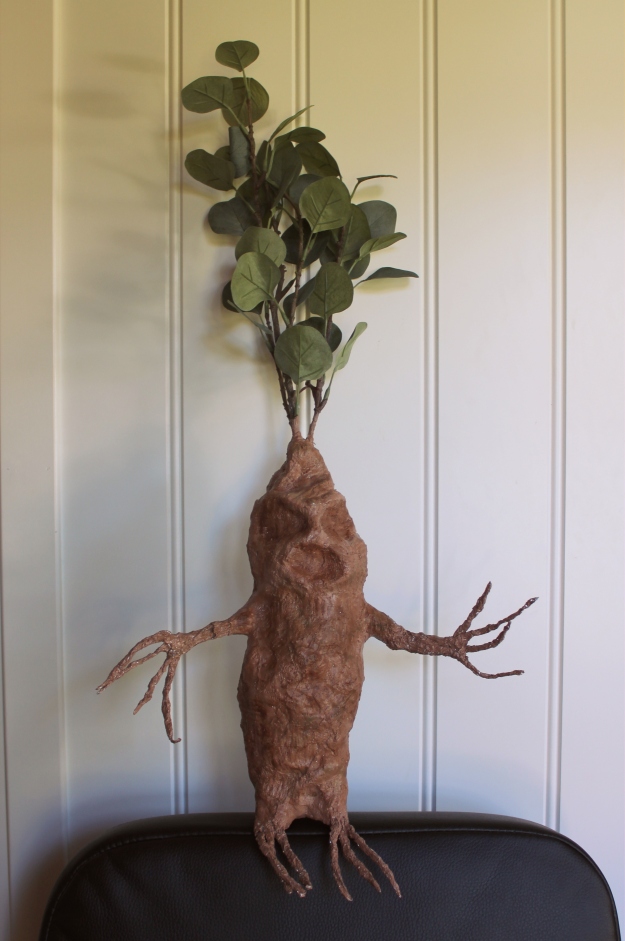
And there you have it. My little mandrake, which turned out to be a little bigger than I imagined. Now I’ll be looking for pink earmuffs in the stores, and later I’ll make a little herbology display including this, some terracotta pots, earmuffs, and whatever more I will find/make.
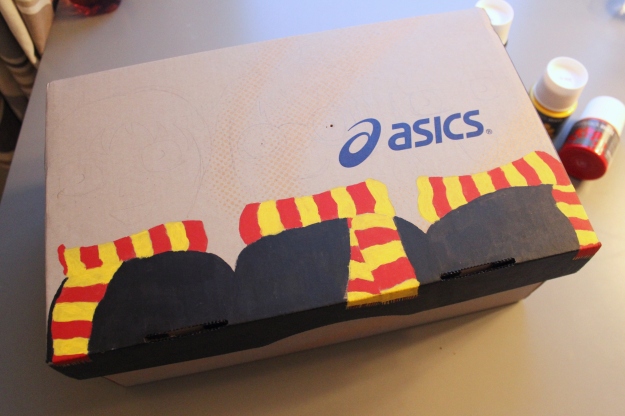
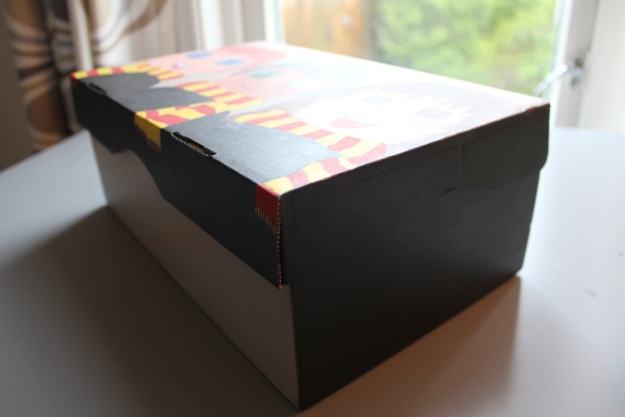
Long story short, I saw this shoebox in the paper recycling where I live, and thought to myself: I can do something with that. Therefore I salvaged the box, or as some would say; I took it from the trash. I wanted to decorate the outside somehow, and then keep my Harry Potter-keepsakes in it. Yesterday I finished the decoration, just in time for a new year at Hogwarts.
All I used was the shoebox itself, some paint, some brushes and a pencil to make the sketch. I found a couple of pictures online that I based my sketch on, and then I just painted away. I’ll show you some pictures from the process and of course the end result.


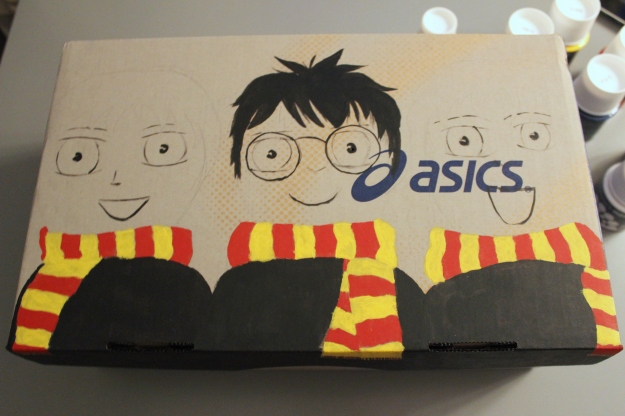


What you think? I like the result, and look forward to use it as a place to keep my magical things.
